Image Credit : Chesty.Com
### Ingredients
– **2 cups** heavy cream
– **1 cup** whole milk
– **3/4 cup** granulated sugar
– **Pinch** of salt
– **1 teaspoon** vanilla extract
– **1 cup** raspberry coulis (recipe included)
– **1 cup** dark chocolate chunks
### Instructions
#### Step 1: Make the Ice Cream Base
1. **Gather Your Ingredients**:
– Make sure you have everything measured out and ready to go.
2. **Mix the Base**:
– In a large mixing bowl, whisk together **2 cups heavy cream**, **1 cup whole milk**, **3/4 cup granulated sugar**, a **pinch of salt**, and **1 teaspoon vanilla extract**.
– Whisk until the sugar is completely dissolved. This might take a couple of minutes, but it’s worth it for that smooth, creamy texture.
#### Step 2: Prepare the Raspberry Coulis
1. **Make the Coulis**:
– If you haven’t made the coulis yet, here’s how: Simmer 2 cups of raspberries with **2 tablespoons of sugar** until they break down and release their juices (about 5-7 minutes). Strain through a fine mesh sieve to remove the seeds. Let it cool completely.
– You’ll need **1 cup of raspberry coulis** for this recipe.
2. **Combine Coulis with Base**:
– Stir the **1 cup raspberry coulis** into the ice cream base until the mixture is well combined and a beautiful pink color.
#### Step 3: Churn the Ice Cream
1. **Churn It Up**:
– Pour the raspberry ice cream mixture into your ice cream maker.
– Churn according to the manufacturer’s instructions. This usually takes about 20-30 minutes. (Set a timer and dance around the kitchen while you wait!)
#### Step 4: Add Chocolate Chunks
1. **Prep the Chocolate**:
– Make sure your **1 cup dark chocolate chunks** are frozen. This helps prevent them from melting too quickly when added to the ice cream.
2. **Add Chocolate to Ice Cream**:
– In the last few minutes of churning, slowly add the dark chocolate chunks to the ice cream maker. This ensures they are evenly distributed throughout the ice cream. (Chocolate chunk jackpot!)
#### Step 5: Freeze Until Firm
1. **Transfer to Container**:
– Once the ice cream reaches a soft-serve consistency, transfer it to a freezer-safe container. (Try not to eat it all straight from the machine!)
2. **Final Freeze**:
– Freeze the ice cream for at least 4 hours, or overnight, until firm. (Patience, my friend. It’s worth the wait!)
### Notes
– **Raspberry Coulis Tip**: If you want an extra smooth coulis, make sure to strain it well to remove all the seeds.
– **Chocolate Chunks**: Freezing the chunks before adding them helps maintain their shape and prevents melting during churning.
– **Flavor Boost**: For a little extra zing, add a splash of raspberry liqueur to the ice cream base before churning.
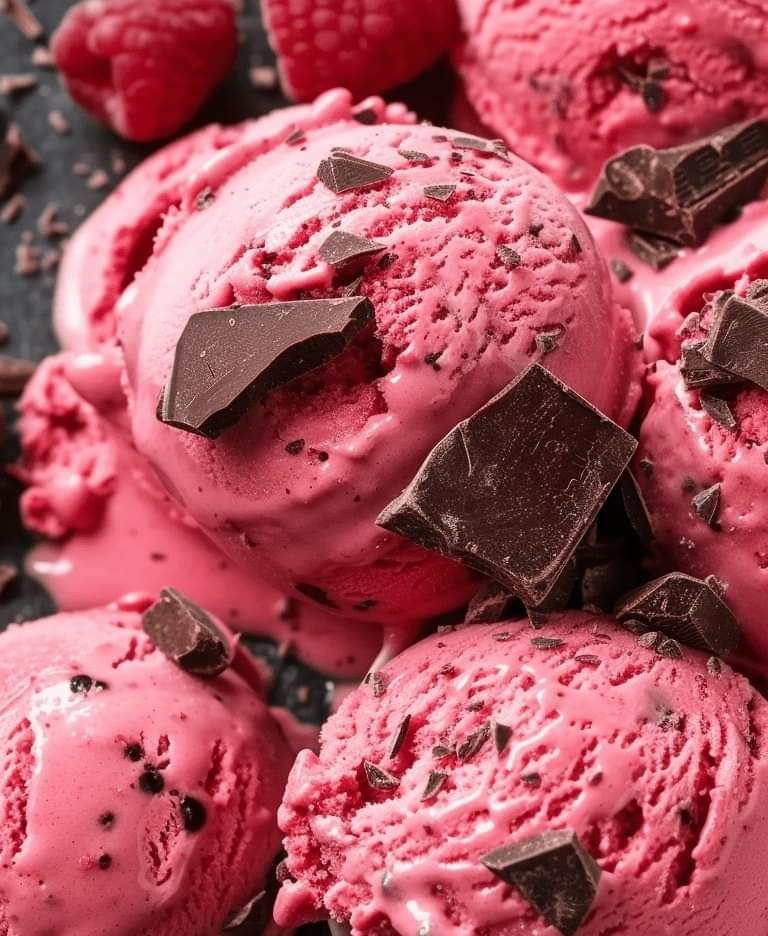
### Final Touch
Scoop out your homemade Raspberry Chocolate Chunk Ice Cream and enjoy! This creamy, dreamy dessert is perfect for hot summer days, fancy dinners, or just a delicious treat anytime.
Enjoy making and indulging in this delightful ice cream!

