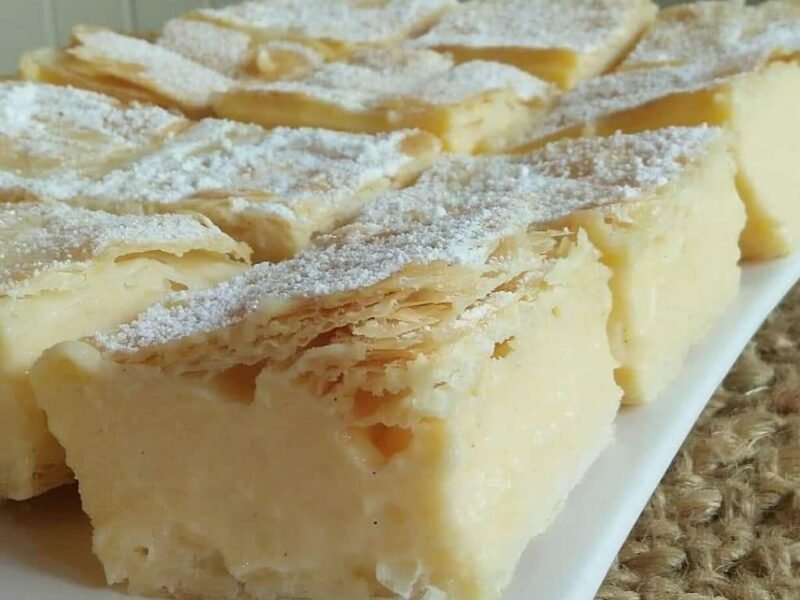
Image Credit : Salad Recipes
Ingredients
– 6 egg yolks
– 3/4 cup sugar
– Pinch of salt (optional)
– 1 cup 2% milk (or whole milk)
– 2 cups heavy cream (or whipping cream)
– 1 vanilla bean
– 1 tablespoon vanilla extract
—
Step-by-Step Instructions
1. Prepare the Base
– **Whisk Egg Yolks:** In a heavy medium saucepan, whisk the 6 egg yolks until they are well blended and smooth.
– **Add Sugar, Salt, and Milk:** Add the 3/4 cup sugar, pinch of salt, and 1 cup of milk to the egg yolks. Whisk until smooth. Then add the 2 cups of heavy cream and whisk again.
2. Cook the Mixture
– **Cook Over Medium Heat:** Place the saucepan over medium-low or medium heat. Cook the mixture, whisking constantly, until it just begins to boil. This should take about 10 minutes. Be careful not to let it boil rapidly, as this can curdle the mixture.
– **Remove from Heat:** Once it reaches a gentle boil, remove the saucepan from the heat.
3. Add Vanilla
– **Add Vanilla Bean:** Split the vanilla bean lengthwise and scrape out the seeds. Add both the seeds and the pod to the mixture.
– **Add Vanilla Extract:** Stir in 1 tablespoon of vanilla extract for that extra boost of flavor.
4. Cool the Mixture
– **Room Temperature:** Let the mixture cool to room temperature, which should take about 30 minutes.
– **Strain:** Remove the vanilla bean pod and pour the mixture through a fine-mesh strainer into a large bowl to remove any lumps. This ensures a smooth texture for your ice cream.
5. Chill the Base
– **Chill Thoroughly:** Cover the bowl and chill the mixture in the refrigerator for several hours or overnight. For a quicker chill, create an ice bath: place the bowl in a larger bowl filled with ice cubes and water. Stir occasionally until the mixture is very cold.
6. Churn the Ice Cream
– **Ice Cream Maker:** Pour the chilled mixture into your ice cream maker and freeze according to the manufacturer’s instructions. This usually takes about 20-30 minutes.
– **Consistency Check:** The ice cream will be soft right out of the machine, similar to soft serve.
7. Ripen the Ice Cream
– **Transfer to Container:** Transfer the ice cream to a freezer-safe container.
– **Freeze:** Let it ripen in the freezer for 2-3 hours, or until it is firm enough to scoop.
Enjoy Your Homemade Vanilla Ice Cream!
– Serving: Scoop the creamy vanilla goodness into bowls or cones. You can also add your favorite toppings like chocolate sauce, fresh berries, or nuts.
– **Storage:** Store any leftover ice cream in the freezer for up to one month. If it becomes too hard, let it sit at room temperature for a few minutes before scooping.
Tips and Tricks
– **Creaminess Tip:** Using whole milk and heavy cream will give you a richer, creamier ice cream.
– **Flavor Boost:** For an extra burst of flavor, try adding a splash of your favorite liqueur or a handful of chocolate chips during the churning process.
Enjoy making and eating this delightful homemade vanilla ice cream! It’s a perfect treat to cool down with on a hot day or to enjoy as a sweet ending to any meal. Happy churning!


